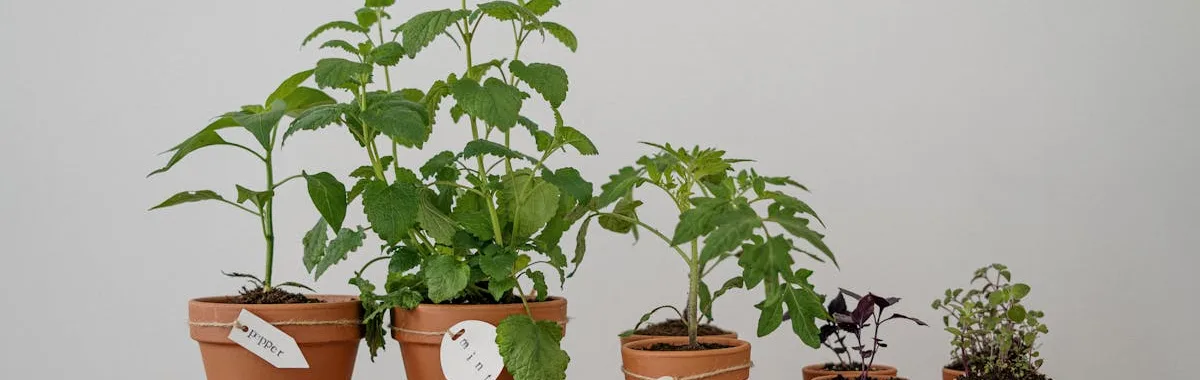
Why Composting Is Worth It
Before getting into the how, it helps to understand the why — because the benefits of composting go well beyond "it is good for the environment" (though it is: composting diverts around 30% of household waste from landfill).
- It improves soil structure. Compost opens up heavy clay soils (so roots can penetrate and water drains properly) and adds body to sandy soils (so they retain moisture and nutrients instead of letting them wash through). No other amendment does both simultaneously.
- It feeds the soil, not just the plant. Unlike synthetic fertilizers, compost nourishes the bacteria, fungi and earthworms that form the living network of healthy soil. These organisms make nutrients available to plant roots in a slow, steady supply — not a single spike followed by depletion.
- It saves money. A 1-cubic-foot bag of quality garden compost costs $8-15 at a garden center. A household composting system can produce dozens of cubic feet per year from materials you were going to throw away anyway.
- It closes the loop. The tomato skins from tonight's pasta sauce feed the soil that grows next year's tomatoes. That is elegant and deeply satisfying in practice.
What You Can (and Cannot) Compost
The fundamental rule of composting is balance between greens (nitrogen-rich materials) and browns (carbon-rich materials). The ideal ratio is roughly 3 parts browns to 1 part greens by volume. This table covers the most common materials:
| Yes to the compost ✓ | No to the compost ✗ |
|---|---|
| Greens (nitrogen): fruit and vegetable scraps, coffee grounds and filters, tea bags (staple removed), fresh grass clippings, fresh plant trimmings, weeds without seeds | Meat, fish and bones (attract rodents and pests) |
| Browns (carbon): dry leaves, shredded cardboard (no glossy ink), wood chips and sawdust, paper towels, straw, crushed eggshells | Dairy products and fats (generate odors and slow decomposition) |
| Houseplant trimmings, spent flowers | Dog or cat feces (contain pathogens) |
| Hair, feathers, nail clippings (slow to break down but add nitrogen) | Diseased plants or plants treated with persistent pesticides |
| Wood ash in small amounts | Weeds with mature seeds (they may survive and spread) |
4 Composting Methods for Home Use
There is no single best way to compost. The right method depends on your space, the volume of materials you generate, and how much time you want to invest.
Outdoor Compost Bin
The classic method. A closed container (usually made from recycled plastic with ventilation slots) placed in a shaded corner of the yard. Ideal if you have at least 2-3 square yards of outdoor space. You add alternating layers of greens and browns, turn the contents every 1-2 weeks, and harvest finished compost from the bottom hatch after 3-6 months. It is the most balanced method in terms of effort versus output.
Tumbling Composter
A dual-chamber tumbling composter is the fastest method for outdoor composting. The rotating design makes turning effortless — just spin it a few times rather than digging through with a fork. The sealed chambers retain heat better than open bins, which accelerates decomposition. A well-managed tumbler can produce finished compost in as little as 4-6 weeks.
FCMP Outdoor IM4000 Dual Chamber Tumbling Composter
- ✓ Dual chamber design — fill one side while the other finishes
- ✓ 37-gallon total capacity, each chamber holds 18.5 gallons
- ✓ Slides on a steel frame, easy to spin even when full
- ✓ UV-resistant recycled plastic, BPA-free
- ✓ Aeration holes on all sides for faster decomposition
- ✓ Compatible with most standard size outdoor spaces
Price from Amazon.com · ships within US
Worm Bin (Vermicomposting)
The ideal solution for apartments and small spaces. Red wiggler worms (Eisenia fetida) process your kitchen scraps in a stacked tray system, producing some of the highest-quality compost available — worm castings are extraordinarily rich in plant-available nutrients. A worm bin produces no odor when managed correctly and can live on a kitchen counter, balcony or in a closet. The main limitation is volume: worms process roughly half their body weight per day, so it works best for households generating modest amounts of food scraps.
Worm Factory 360 WF360B Worm Composter
- ✓ 4-tray stackable design — expandable as worm population grows
- ✓ Includes 16 oz bottle of Worm Bedding Plus and mineral rock dust
- ✓ Ventilated lid prevents anaerobic conditions and odor
- ✓ Leachate spigot for easy collection of liquid fertilizer
- ✓ Instruction DVD and Getting Started Guide included
- ✓ Works year-round indoors or in mild outdoor climates
Price from Amazon.com · ships within US
Bokashi Fermentation
A Japanese fermentation system that uses a sealed bucket and inoculated bran (bokashi bran) to ferment food waste anaerobically. Unlike other methods, bokashi accepts meat, fish, dairy and cooked food. The fermented material (not finished compost yet) is buried in garden soil or added to a regular compost bin where it breaks down quickly over 2-4 weeks. A kitchen compost bin with a tight-fitting lid is a practical first step for collecting scraps before transferring to your main composting system.
OXO Good Grips Easy-Clean Compost Bin
- ✓ 0.75-gallon capacity, ideal for daily kitchen scraps
- ✓ Wide opening makes it easy to add scraps without touching the lid
- ✓ Smooth interior surface with no crevices — easy to clean
- ✓ Removable inner bucket lifts out cleanly
- ✓ Snap-on lid keeps odors contained between transfers
- ✓ Dishwasher safe
Price from Amazon.com · ships within US
Step-by-Step: Starting Your First Compost Pile
If you have never composted before, this 6-step protocol will take you from zero to your first batch of finished compost:
- Choose the location. Pick a shaded or semi-shaded spot with good drainage and easy access from the kitchen. Direct contact with the soil is ideal because it lets earthworms and soil microorganisms colonize the pile naturally. If using a worm bin in an apartment, a cool kitchen corner or balcony works well.
- Create a brown base layer. Start with 4-6 inches of carbon-rich material: dry leaves, shredded cardboard, wood chips. This ensures ventilation at the base and prevents water from pooling at the bottom.
- Alternate green and brown layers. Add 2-4 inches of kitchen scraps or fresh garden waste, then immediately cover with another brown layer. The visual rule: if you can see fresh food scraps on the surface, add more brown. This controls odors and discourages flies.
- Manage moisture. Compost should feel like a wrung-out sponge — if you squeeze a handful, a few drops should fall but it should not stream. Too dry? Add water. Too wet? Add shredded cardboard or crumpled paper.
- Aerate regularly. Turn or stir the pile every 7-14 days. The microorganisms doing the decomposition need oxygen. Without aeration, the process becomes anaerobic and produces odors. A spiral aerator tool is the most comfortable way to do this without a full turn.
- Harvest finished compost. Finished compost is uniformly dark brown, smells like rich forest floor, and shows no recognizable original materials. Screen it through a 1/2-inch mesh to separate any unfinished pieces (return them to the pile) and use the fine compost in your garden.
Troubleshooting Common Composting Problems
Composting is a biological process, not an exact science. These are the most frequent problems and how to fix them:
Bad smell (rotten or ammonia-like): too many greens or excess moisture. Fix: add a thick layer of cardboard or dry leaves, turn the pile thoroughly, and leave the lid slightly open for a day or two.
Fruit flies: food scraps are exposed on the surface. Fix: always bury fresh kitchen scraps under a layer of browns. If you already have flies, cover the pile with a thick layer of damp cardboard.
Pile is soggy and matted: insufficient browns and poor aeration. Fix: mix in shredded cardboard, turn thoroughly, and add woody material to create air pockets.
Nothing is breaking down after months: the pile is too dry, too small, or lacks nitrogen. Fix: water until it reaches sponge moisture, add fresh kitchen scraps or grass clippings, and chop everything into smaller pieces. Large chunks take much longer to decompose.
Ants are moving in: usually indicates the pile is too dry. Water thoroughly and turn. Ants prefer dry conditions and will move out when moisture levels rise.
How Long Until the Compost Is Ready?
| Method | Time to Finish | Effort Level |
|---|---|---|
| Hot composting (frequent turning) | 4-8 weeks | High (turn every 3-5 days) |
| Tumbling composter (well-managed) | 4-6 weeks | Low (spin a few times per week) |
| Standard outdoor bin | 3-6 months | Medium (turn every 1-2 weeks) |
| Vermicomposting (worm bin) | 3-4 months | Low (feed and drain leachate) |
| Cold composting (passive pile) | 6-12 months | Minimal (just add and wait) |
Temperature is the key variable. In spring and summer, microbial activity increases and decomposition speeds up significantly. In winter, the process slows but does not stop — it simply takes longer. The single best way to accelerate any method is to chop all materials into small pieces before adding them. Smaller surface area means faster microbial access.