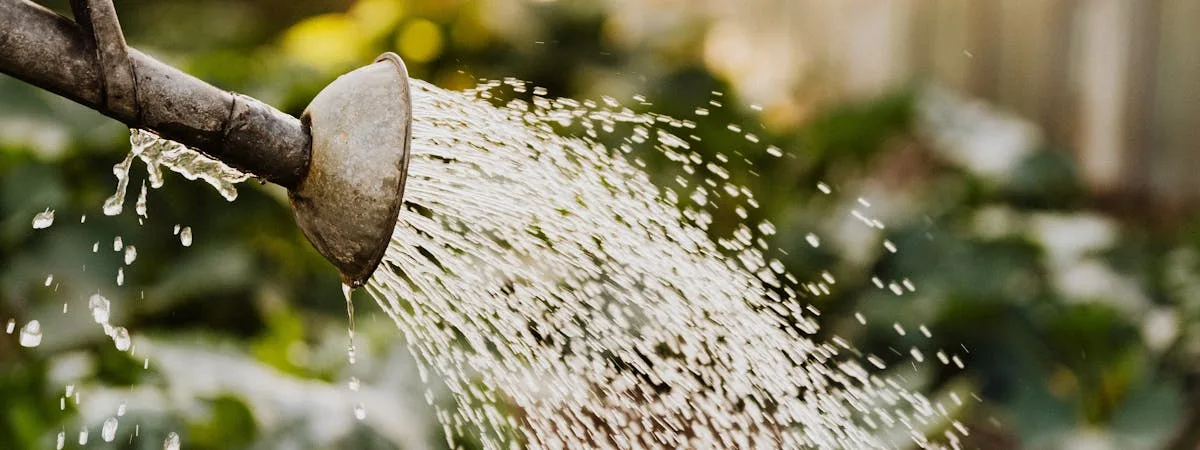
Why drip irrigation beats sprinklers and hand-watering
Overhead sprinklers wet the entire soil surface and the foliage of plants. This promotes surface evaporation (up to 30% of water delivered never reaches roots), and wet foliage at night encourages fungal diseases like powdery mildew, blight, and botrytis. Hand-watering is time-consuming and inconsistent — it is human nature to water some plants more than others and to water less frequently during holidays or busy periods.
Drip irrigation solves both problems. Water is delivered at a trickle (0.5–2 gallons per hour) directly to the root zone of each individual plant. The soil surface between plants stays dry, which dramatically suppresses weed germination. Foliage never gets wet. And once connected to a hose timer, the system waters automatically on a set schedule whether you are home or not.
The efficiency argument is compelling: drip irrigation is 90–95% efficient (meaning 90–95% of water delivered reaches plant roots). Overhead sprinklers are typically 65–75% efficient. On a garden using 100 gallons per week of sprinkler water, switching to drip can cut usage to 65–70 gallons — a saving that adds up quickly both financially and environmentally.
What you need: components explained
Backflow preventer: a small valve that stops garden water from siphoning back into the drinking supply if pressure drops. Required by plumbing codes in most US states. It screws directly onto the outdoor faucet.
Pressure regulator: household water pressure (60–80 psi) is too high for drip emitters — it blows barbed fittings out of tubing and causes emitters to mist rather than drip. A pressure regulator reduces flow to the 20–30 psi the system needs.
Filter: drip emitters have tiny orifices that block with sediment, algae, and mineral deposits. A 100–150 mesh filter at the inlet catches debris before it reaches the emitters.
½-inch main tubing: the supply backbone that carries water from the faucet to the garden area. Heavy-walled polyethylene that is UV-resistant and flexible.
¼-inch micro-tubing and emitters: the lateral lines that branch from the main line to individual plants. Emitters are available in fixed flow rates (0.5, 1, or 2 GPH) or adjustable flow versions.
Fittings: barbed tee, elbow, and end-cap fittings. No glue — all press-fit by hand.
Rain Bird Drip Irrigation Watering Kit — 168 Piece
- ✓ 168 pieces: ½-inch and ¼-inch tubing, emitters, fittings, stakes
- ✓ Includes backflow preventer, filter, and pressure regulator
- ✓ Adjustable and fixed emitters (0.5, 1, 2 GPH) for different plants
- ✓ Covers up to 150 sq ft of garden bed
Price from Amazon.com · ships within US
Step 1: plan your layout
Sketch your garden on paper, roughly to scale. Mark each plant position and note its water requirement (vegetables and annuals generally need more; established shrubs and perennials need less). Identify your outdoor faucet location and trace the most direct path for the main supply line to reach the garden.
Measure the total length of main line you need plus the length of all ¼-inch lateral runs. Most starter kits include 50–100 feet of each tubing type, which is enough for a typical 10×20-foot vegetable garden. Count your plants to determine how many emitters you need — one per plant for most vegetables, two for large tomatoes or squash.
Group plants by water requirement where possible so you can run a single lateral line to a zone of plants that all need the same amount of water. This makes timer programming far simpler: vegetables get one schedule, drought-tolerant herbs get another.
Step 2: assemble the faucet connections
Work from the faucet outward in this order: backflow preventer → pressure regulator → filter → ½-inch supply tubing. All connections are threaded and hand-tight. Do not use plumber's tape or tools — plastic threads strip easily and connections are designed to seal without tape. The complete faucet assembly takes about five minutes.
If you are installing a hose timer, it goes between the faucet and the backflow preventer. Programme the timer before connecting anything downstream so you can test it dry.
Step 3: lay the main supply line
Run the ½-inch main tubing from the faucet assembly along your planned route. The tubing is flexible and can follow gentle curves, but for sharp corners use elbow fittings rather than forcing a tight bend. Secure the tubing every 3–4 feet with ground staples (U-pins). Leave the far end of the main line uncapped — you will flush through it in step 5.
If the main line needs to branch into two separate rows, use a tee fitting. Install an end cap on all branches except the far end flush point. Keep the main line as short as practical to minimise pressure drop along its length.
Step 4: add emitter lines and emitters
Use the hole-punch tool to make a hole in the main ½-inch tubing at each plant location. Push a barbed tee or barbed elbow fitting firmly into the hole until it seats fully — you should feel resistance as the barbs grip the tubing walls. Connect a length of ¼-inch micro-tubing to the barbed fitting and run it to the plant location. At the end of the ¼-inch line, press an emitter into the tubing end and stake it next to the plant's root zone.
For vegetable rows (lettuce, carrots, beans), use in-line drip tape or ½-inch soaker tubing with emitters every 6 or 12 inches instead of individual ¼-inch laterals — it is faster to install and distributes water more evenly along the row.
Raindrip Drip Irrigation Starter Kit — 91 Piece
- ✓ 91 pieces for up to 20 plants in containers or garden beds
- ✓ Includes pressure regulator, filter, fittings, emitters and stakes
- ✓ Adjustable emitters allow 0–10 GPH fine-tuning per plant
- ✓ Works with any standard outdoor ¾-inch faucet
Price from Amazon.com · ships within US
Step 5: flush, test, and adjust
Before capping the main line end, turn on the water fully for 30 seconds and let it run through the open end to flush any debris, plastic shavings, or particles from the assembly process. Then cap the end of the main line.
Turn the water back on and walk the entire system. Check every barbed connection for leaks — a dripping connection usually just needs the fitting pushed in more firmly or the tubing recut with a clean square end. Look at every emitter: each one should show a slow, steady drip or trickle. Adjust any flow-adjustable emitters to match your plants' needs.
Step 6: mulch and anchor
Apply 2–3 inches of organic mulch (wood chips, straw, or shredded bark) over the tubing runs. Mulch protects the ¼-inch micro-tubing from UV degradation, which makes it brittle within a single season if left exposed. It also reduces surface evaporation significantly, making your drip system even more efficient. Anchor any sections of tubing that the mulch does not fully cover with additional ground staples.
Best drip irrigation kits for home gardens
For most home gardeners, a complete starter kit is the fastest and most economical way to get started. Buying individual components separately is useful only if you are expanding an existing system or need to replace specific parts. The three kits below cover different garden sizes and budgets:
Orbit 62061N 1-Outlet Programmable Hose Watering Timer
- ✓ Digital timer programmes up to 3 watering cycles per day
- ✓ Water delay function for rainy periods
- ✓ Compatible with all drip irrigation systems (standard ¾-inch fitting)
- ✓ Runs on 2 AA batteries — no wiring required
Price from Amazon.com · ships within US
Troubleshooting common drip irrigation problems
Emitters not dripping: most commonly caused by a blocked filter or blocked emitter. Remove the filter basket, rinse, and reinstall. For a blocked emitter, remove it and soak in a cup of white vinegar for 20 minutes to dissolve mineral deposits.
Fittings blowing out of tubing: pressure is too high. Check the pressure regulator is installed and working (some fail open). Replace if faulty. Also check that the main line end is capped.
Uneven flow between emitters: usually a pressure drop caused by a main line that is too long, too many emitters on one run, or a kinked section of tubing. Split the run into two separate zones or use higher-flow emitters at the far end of the line.
Algae growth inside tubing: common in warm climates or where the system sits unused for long periods. Flush the entire system monthly during the growing season. Some gardeners add a small amount of hydrogen peroxide (3%) to the flush water once per month.