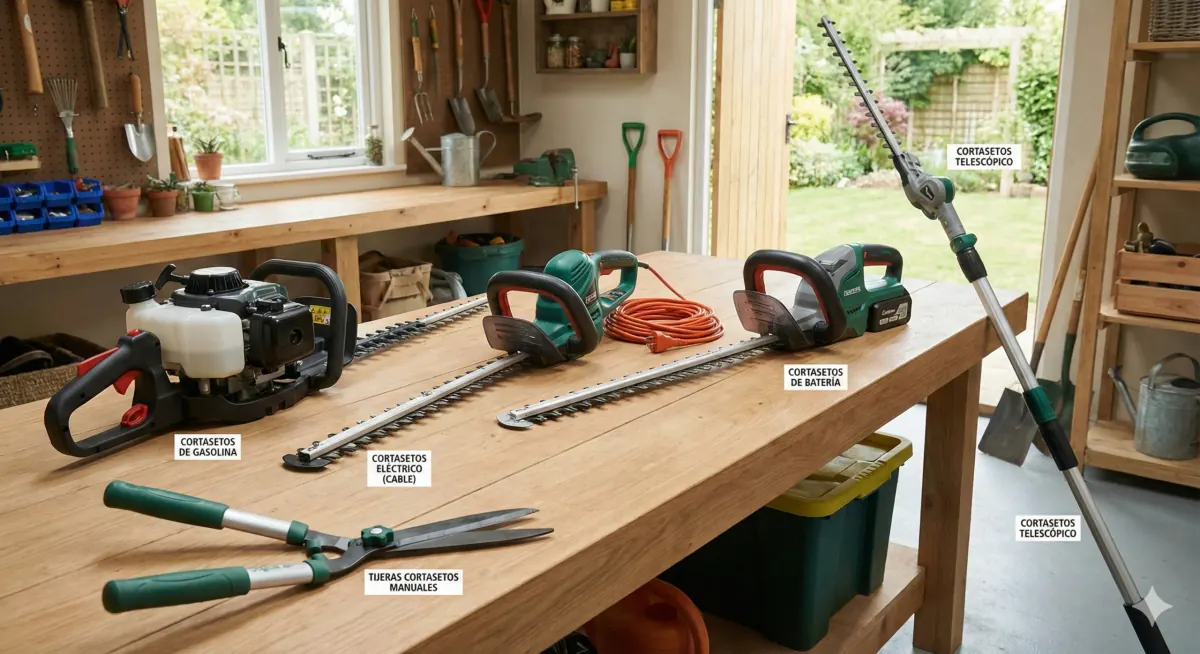
Best manual hedge shears 2026
Fiskars 28-Inch Bypass Hedge Shears
- ✓ 28" overall length
- ✓ Hardened bypass steel blades
- ✓ FiberComp handles — lightweight & strong
- ✓ Non-stick coating — resists sap buildup
Price from Amazon.com · ships within US
ARS HS-KR1000 Professional Hedge Shears
- ✓ SK-5 high-carbon steel blades
- ✓ Razor-sharp edge + adjustable tension
- ✓ 39.4" length for extended reach
- ✓ Fully serviceable — made in Japan
Price from Amazon.com · ships within US
Corona HS 3950 RazorTOOTH Hedge Shears
- ✓ Drop-forged carbon steel blades
- ✓ Serrated edge for woody stems
- ✓ Cushion grip handles
- ✓ Affordable professional option
Price from Amazon.com · ships within US
Comparison table
| Model | Blade type | Blade material | Best for |
|---|---|---|---|
| Fiskars 28" | Bypass | Hardened steel | Everyday residential hedging |
| ARS HS-KR1000 | Bypass | SK-5 high carbon | Professional topiary & fine work |
| Corona HS 3950 | Bypass/serrated | Drop-forged carbon | Budget professional use |
Manual hedge shear buying guide
Three specs matter when choosing hand shears: blade material, handle ergonomics, and blade length.
Blade material determines how long your edge stays sharp between honings. SK-5 high-carbon steel (used by ARS and Felco) holds an edge 3–4 times longer than standard hardened steel. Stainless steel resists rust in humid climates but dulls faster — it's better suited to occasional light work than serious hedging.
Handle ergonomics matter more than most buyers realise. Cushioned grips, a tension spring that opens the blades automatically between cuts, and handles that fit your hand size all dramatically reduce fatigue over a 30-minute shaping session. The Fiskars PowerLever mechanism reduces the force needed per cut by up to 60%, which is a real advantage if you have arthritis or limited grip strength.
Blade length determines what kind of work you can do. Short blades (8–10 inches) are ideal for precision shaping and topiary — they give fine control over each cut. Longer blades (12–16 inches) cover more hedge face per sweep and are better for general trimming of flat, formal hedges. For occasional home use, Fiskars provides excellent quality at an accessible price point ($25–$40). For regular professional use or serious gardeners, ARS (Japan) or Felco (Switzerland) are investments that last decades — fully serviceable, with replaceable blades and parts.
Bypass vs. anvil shears
For hedge work, always choose bypass. Bypass shears work like scissors — two sharpened blades slide past each other, making a clean cut that doesn't crush the stem. The wound is smooth, heals quickly, and presents minimal surface area for disease or fungal entry. This is especially important on boxwood and privet, which are susceptible to fungal dieback through damaged tissue.
Anvil shears have one sharpened blade that presses down onto a flat metal surface. They generate more leverage for thick, dead branches (useful for removing deadwood), but they crush live stems slightly — compressing the cells on both sides of the cut. On soft, young growth, this crushing is visible as browning at cut points that appears 2–3 days after trimming. If your hedges develop brown edges after shearing and you're using anvil-style tools, this is the most likely cause. Switch to bypass shears and the browning should stop immediately.
How to sharpen and care for hedge shears
Sharp shears require less force per cut, cause less plant stress, and make cleaner wounds that heal faster. A dull pair of shears tears rather than cuts — the difference is immediately visible in the hedge the next day. Plan to sharpen after every 2–3 full hedging sessions, or whenever cuts feel noticeably harder than when the blades were new.
The sharpening process is simple: clean both blades with mineral spirits to remove sap and debris (dried sap causes friction that mimics dullness). In bypass shears, sharpen only the outer bevel of each blade — the inside flat face should remain perfectly flat. Running a stone across the flat side once or twice to remove the wire burr is fine, but never create a bevel on the flat side, as this creates a gap between the blades that prevents clean cutting.
Use a whetstone or flat file at the original 20–25° angle, working from base to tip in smooth, consistent strokes. 10–15 strokes per blade edge is sufficient for regular maintenance sharpening — you're restoring the edge, not reshaping it. Finish by wiping both blades clean and applying a thin coat of camellia oil (the traditional choice of Japanese tool makers) or any light machine oil to prevent rust. Store shears closed, in a dry location, ideally hanging from a hook rather than sitting in a damp tool box.
Technique for precise hedge shaping
For flat top work: stretch a mason's line (string) between two stakes at the exact height you want, then trim just above the line, using it as your visual guide. This is the only reliable way to achieve a truly level top on a formal hedge — the human eye is remarkably poor at judging level over distances of more than a few feet. Set the stakes at each end and pull the string taut; even a slight sag produces a noticeable dip in the hedge line.
For the sides: work in broad, sweeping upward strokes. Start at the bottom and work upward — this keeps cut material falling away from the untrimmed area, giving you a clear view of where you're cutting. The ideal hedge profile is slightly tapered: wider at the base by 2–3 inches per foot of height. This taper lets sunlight reach the lower branches, which prevents the base from thinning and going bare over time — a common problem in hedges trimmed with perfectly vertical sides.
For curved or rounded shapes (cloud pruning, topiary balls): work in small, deliberate cuts, stepping back frequently to check the shape from 10–15 feet away. Hand shears excel at this kind of work because you control every single cut — no accidental gouges from a power tool oscillating at 3,000 strokes per minute. Professional topiarists exclusively use hand shears for this reason.
Blade Maintenance: Keeping Your Shears in Peak Condition
Proper maintenance extends the life of quality hedge shears from years into decades. Most of the damage to shear blades comes from neglect — dried sap buildup, rust from moisture exposure, and improper storage.
After every use: Wipe both blades clean with a soft cloth to remove fresh sap and debris. If sap has already begun to dry, soak the shears in hot water for 15 minutes, then scrub with a soft brush or cloth — this dissolves dried sap far more effectively than dry wiping. Never use wire brushes or harsh abrasives on the blades themselves, as they scratch the hardened steel and can cause rust spots. For stubborn sap, rubbing alcohol or mineral spirits dissolve the residue without damaging the steel.
Regular oiling: After cleaning, apply a thin coat of camellia oil, light machine oil, or even a spray silicone lubricant to both blades. This prevents rust and keeps the cutting action smooth. Wipe away excess — you want a thin film, not an oil pool that attracts dust and grit. This monthly or after-season maintenance takes five minutes and prevents the kind of rust damage that can render shears useless.
Tension adjustment: Most quality bypass shears allow you to adjust the tension screw where the blades pivot. If cuts feel loose or the blades rattle, tighten the tension screw slightly (typically ¼ turn with a screwdriver). If the shears become hard to open or don't close properly, loosen it slightly. Proper tension is a balance: tight enough that there's no blade wobble, loose enough that the opening spring can fully separate the blades between cuts without excessive force.
Spring replacement: The spring that opens the blades automatically will eventually weaken and fail — typically after 10–15 years of regular use. Most quality brands (Fiskars, ARS, Felco) sell replacement springs as spare parts. Replacing a spring is a 5-minute job: remove the pivot bolt, take out the old spring, install the new one, and reassemble. This is one of the reasons professional-grade tools are a worthwhile investment: they're designed to be serviced rather than replaced.
Ergonomics and Reducing Hand Fatigue
Hand fatigue during long shearing sessions is one of the biggest complaints from both amateur and professional gardeners. Several factors contribute, and several solutions exist:
Blade sharpness is the single most important factor. A dull pair of shears requires 3–4 times more force per cut than a sharp pair. If your hands are tiring quickly, the first step is to sharpen. Many gardeners don't realize how much their fatigue is due to working with dull shears. A fresh sharpening often feels like replacing a tired old tool with a new one.
Handle design matters significantly. Cushioned grips that conform to your hand reduce pressure concentration on your palm and fingers. Handles with a slight curve or ergonomic shape fit the natural contour of the hand better than straight handles. If you have arthritis, carpal tunnel, or limited grip strength, look for shears with mechanical advantage — the Fiskars PowerLever mechanism reduces force requirements by 60%, making extended use far more comfortable. Rotating handles (like the Fiskars SmartFit models) let you adjust for left or right dominant hand, preventing repetitive strain from always cutting in one orientation.
Spring tension and blade closing resistance: A stiff spring that requires significant force to open the blades between cuts adds to overall fatigue. Well-maintained shears with a properly tuned spring will open automatically with minimal effort. If your shears require a conscious effort to open them fully, adjusting or replacing the spring (a simple maintenance task) can make a dramatic difference in comfort.
Work technique: Avoid death-grip pressure on the handles. Let the shears do the work — your grip should be firm enough for control, not so tight that your knuckles turn white. Take a 5–10 minute break every 30 minutes of continuous shearing. This prevents fatigue accumulation and gives you a chance to step back and check your progress against reference lines or shapes. Many professionals find that switching between different shears (short-blade precision shears and longer shears for broad strokes) throughout a session distributes the fatigue across different muscle groups, extending the time you can work comfortably.
Specialized shears and advanced topiary techniques
Beyond standard bypass and anvil shears, professional gardeners maintain a small arsenal of specialized tools for specific tasks. Pruning saws (folding or fixed-blade) are essential for removing deadwood or branches thicker than 1 inch that shears alone can't cut cleanly. Japanese-style pruning saws (like the Silky Gomtaro or ARS folding saw) cut on the pull stroke rather than the push, requiring less force and producing extremely clean cuts — worth the investment if you have mature hedges. Hedge knives (short, flat blades for scraping and pruning detail work) are favored by traditional topiarists for cloud pruning and sculptural work where shears would be too heavy-handed. Single-handed pruners (secateurs or hand pruners) round out the toolkit for detail work on small branches.
Advanced topiary techniques require patience and multiple seasons to achieve results. Cloud pruning (the art of creating rounded, cloud-like shapes by strategic pruning) begins with a strong structural framework — prune away lower growth to create distinct layers or "clouds" separated by negative space. Step back and view the shape from 15–20 feet away every 10–15 cuts to assess balance and proportion; hand shears excel here because you can feel every cut and adjust your next move based on what you see. Spiral pruning (creating a spiral or helix form on a columnar plant like a boxwood or privet) requires marking your intended spiral line with string or paint, then patiently pruning away the "steps" over multiple seasons as the plant grows. Professional topiary apprenticeships typically last 3–5 years — mastering these techniques is genuinely difficult work. For homeowners, simple layered shapes (flat tops with tapered sides, simple balls or pyramids) are achievable with patience and good reference photos.